


If your Wireless Xbox One controller needs a PIN to connect to Windows 10, you’re in trouble. But, don’t worry; using the solutions listed below, you can resolve this issue.
Microsoft’s Xbox is simple to connect to and use on a Microsoft Windows laptop or desktop computer. Most of the time, it works flawlessly and requires little technical knowledge to set up on the first try.
Connecting your Xbox controller to your Gaming PC or laptop is a better option than purchasing a separate PC controller if you prefer a wireless or wired controller to a keyboard and mouse for specific games, especially if you already own an Xbox.
Furthermore, connecting the Xbox controller and getting it to work is not always as simple as it appears. For example, it’s possible that the setup will require a PIN to complete, and you won’t be able to find any information about the PIN anywhere.
Table of contents
How to Fix Wireless Xbox One controller requires a PIN for Windows 10
1. For Wireless (Bluetooth) connection
2. For Wired connection
3. For Wireless connection (Xbox one Adapter)
How to Fix Wireless Xbox One controller requires a PIN for Windows 10
Here’s a step-by-step approach for correctly configuring the Xbox One controller with Windows 10 PC.
Step 1
To begin, disconnect the Xbox controller and completely uninstall its drivers. To do so,
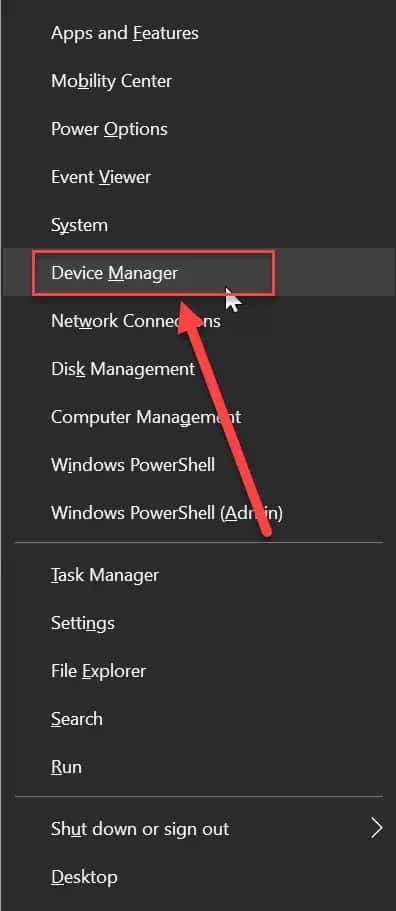
1. Press Windows Key + X to open the device manager, then select Device Manager from the menu.

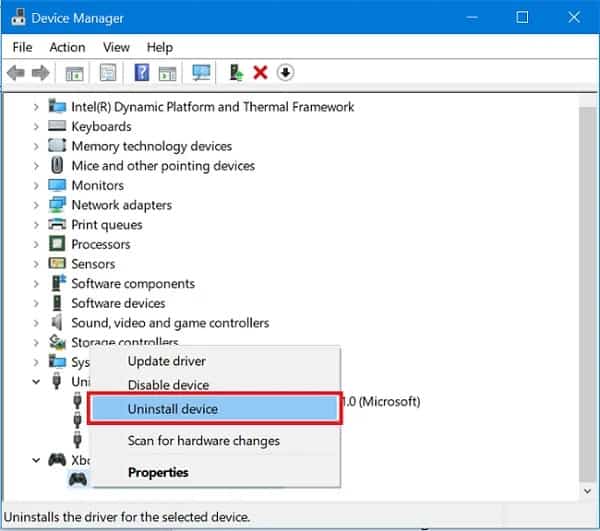
2. Right-click on the Xbox controller in the list of connected devices, then choose Uninstall Device.

3. Restart the Windows 10 PC without connecting the device.
Step 2
Let’s now update the firmware on the Xbox One controller.
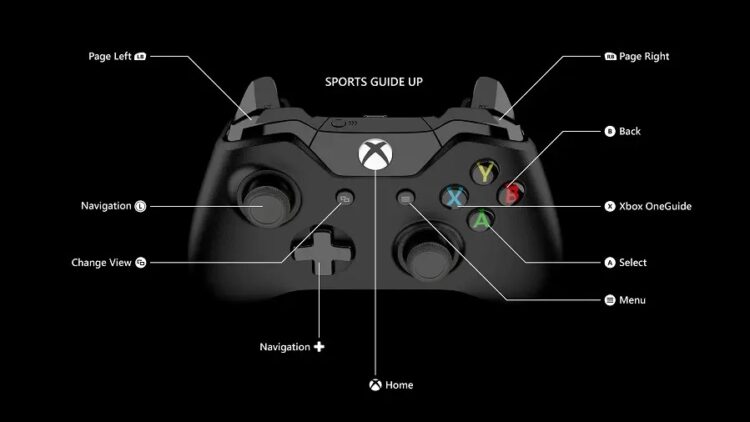
1. Press and hold the Xbox button on your Xbox One controller to turn it entirely off. Keep it off for a few moments. You can even remove the controller’s battery and leave it for a few minutes.
2. Then, using the Xbox button, turn on the Xbox One controller.

3. Now, connect the Micro USB cable between the Xbox One controller’s micro USB port and the Xbox USB port to update drivers.
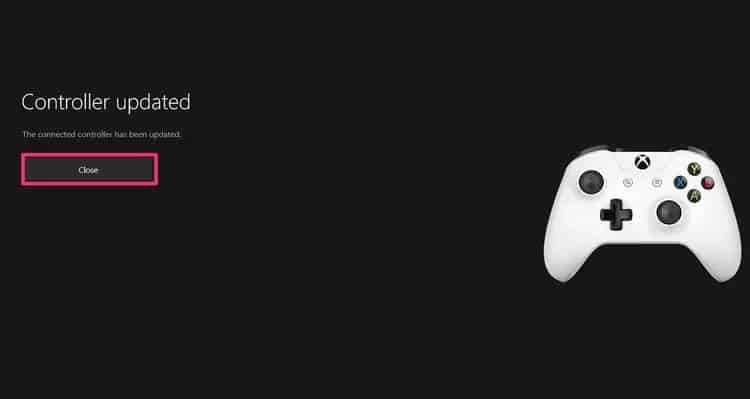

4. To manually check for updates, go to Settings on the Xbox One. Next, navigate to Kinect & Devices, then Devices & Accessories. Next, select your controller and install the latest drivers.
Try connecting your controller once more to see if you can resolve the Wireless Xbox One controller that requires a PIN for Windows 10.
1. For Wireless (Bluetooth) connection
Ensuring that the Windows 10 PC and the Xbox One controller have the most recent firmware updates installed. When you confirm that,
1. To connect to the PC, press the Xbox button on the Xbox One controller.
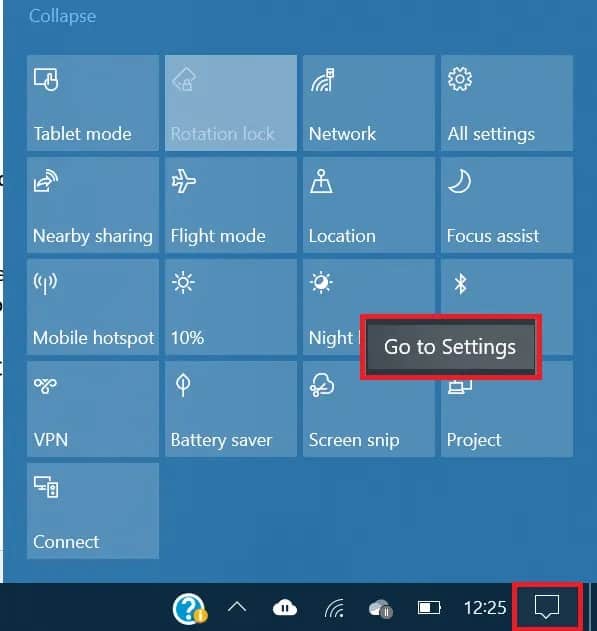
2. On the Windows computer, open the Notification shade by tapping on the notification icon in the bottom right corner of the screen.
3. Next, right-tap the Bluetooth icon to access the Bluetooth settings.


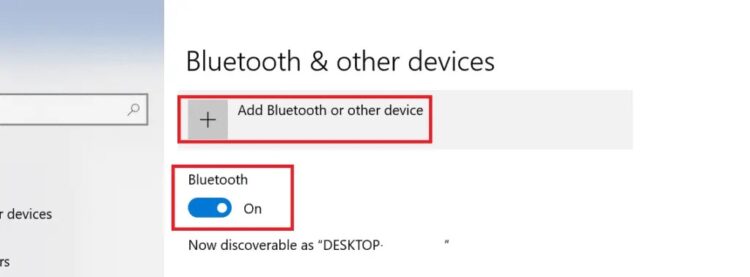
4. Turn on Bluetooth and select Add Device.

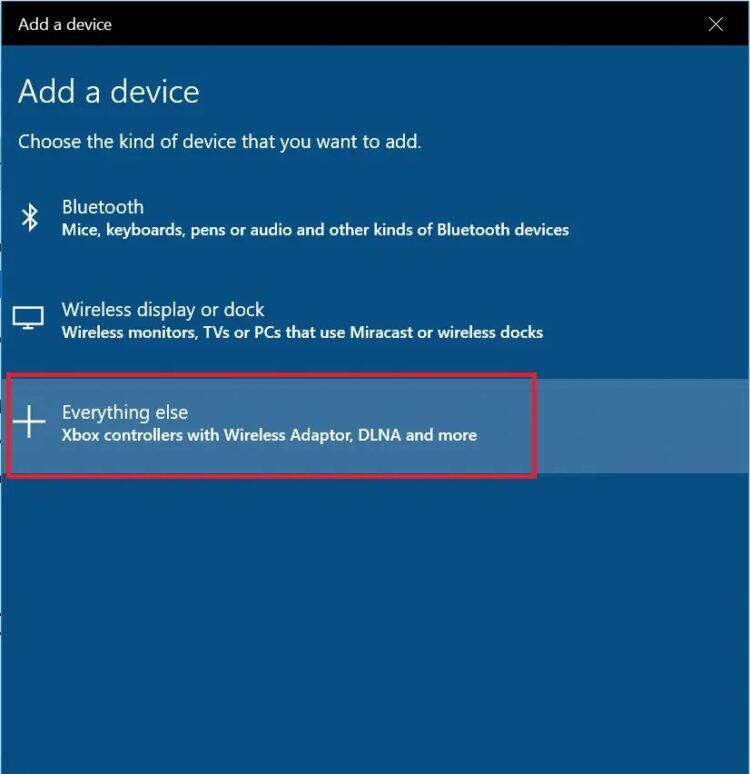
5. Select Everything Else and wait for the wireless Xbox One controller to be recognized. While Windows 10 searches for the controller, press and hold the Connect button near the controller’s Micro USB port.

6. Complete the process as directed, and the Xbox One controller will be ready to use!
2. For Wired connection
1. Firstly, connect your Xbox One controller to your computer using a Micro USB cable.
2. The drivers or firmware update for the Xbox One controller will be installed automatically. If they aren’t already installed, go to the Windows 10 Settings app’s update center and download and install the pending updates. After installation, restart the computer and reconnect the controller.
3. To begin, press the Xbox button on the controller. Your controller will now be ready to use, and you can start playing games with it right away. If the controller’s light blinks or goes out, it means it is low on power and needs to be charged before being used.
3. For Wireless connection (Xbox one Adapter)
1. Plug the Xbox One adapter into the PC. Turn it on if it is already installed or embedded in the computer.
2. Navigate to the Bluetooth settings on your Windows 10 computer. To do so, right-tap the Bluetooth icon in the notification shade and select Settings.

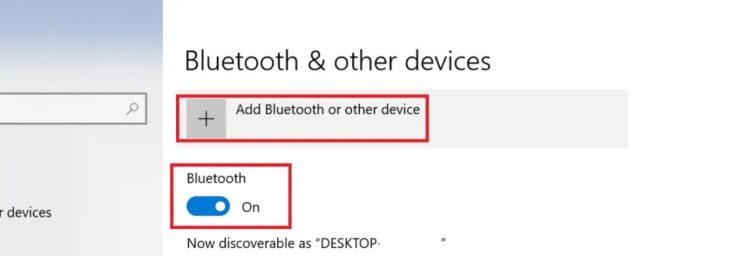
3. Turn on Bluetooth. Then, on your Xbox One controller, press and hold the connect button. Your Windows 10 system should detect and install the device automatically. If not, click Add Device and proceed to the next step.

4. Select everything else from the drop-down menu. The Windows 10 operating system will now look for available devices to connect to. Select the Xbox One controller when it is detected. If the Xbox One controller’s light blinks or turns off, fully charge it before turning it on again. There is no need for a PIN when connecting the Xbox One controller to a Windows 10 laptop or desktop.


It brings the article on installing and using the Xbox One controller without a PIN to a close. If a PIN entry prompt appears, restart the process and try a different approach. Simple fixes, such as updating the firmware on the Xbox One controller or changing the operating system to Windows 10, may also work, so give them a try.
Suppose you’re still having trouble pairing your Xbox One controller with your Windows 10 laptop or desktop, swap the controller or the PC to see if it works on another computer or the same computer. When you have identified the source of the issue, it’ll be much easier to solve it.
Microsoft has gone to great lengths to ensure that games available on the Xbox One can also be played on Windows PCs. PCs also have easily upgradeable hardware and, in general, more computing power than game consoles like the Xbox One.
Even though PCs are less portable than gaming consoles, many gamers prefer them on occasion. Additionally, the ability to use Xbox One controllers on their gaming PCs is a definite plus.