


This article will learn how to remove, turn off or Disable Bitlocker Windows 10. Here are the steps to follow when disabling BitLocker using these techniques.
You are concerned about the protection of your sensitive data. Is it possible that your data has been stolen? Especially if your device has been lost or stolen. Using BitLocker, Windows 10 users may encrypt their files. The app automatically encrypts all of your files, so you don’t have to worry about it. BitLocker may be disabled in a matter of seconds if you no longer require it. Unfortunately, the data you’ve stored in BitLocker will be unprotected after you turn it off in Windows 10.
What Is BitLocker?
In Windows 10 Pro and Enterprise, BitLocker is a built-in feature. This feature encrypts your whole hard disk to guard against illegal access.
Windows 10 Home does not include BitLocker, but you may still use device encryption to safeguard your contents from unauthorized access if your device is lost or stolen. You can also use OneDrive Personal Vault to save your most essential files.
To protect your data, BitLocker relies on your Windows login. This feature scrambles your information, making it unreadable to anybody without a recovery key.

How to Disable Bitlocker on Windows 10
Protecting your data with BitLocker is a discrete way to do so. However, it is still a perfect idea to keep a copy of your files even if you turn off the feature.
You may Disable BitLocker on Windows 10 in various ways, including through the Settings, Control Panel, the Windows search box, or by using PowerShell and Command Prompt commands. Here are the steps to follow when disabling BitLocker using these techniques.
Disabling BitLocker via the Windows Service or Group Policy may be recommended by specific sites. However, neither of these approaches is effective and may lead to incorrect setups and issues.
How to Turn off BitLocker Windows 10 Via Windows Search
By narrowing your search parameters, you can use the Windows search tool to look for specific things in File Explorer, the Start menu, or the Settings menu. You may also perform web searches without opening a browser and gaining access to the documents and programs you use the most often.
Using the Windows search box, you can quickly turn off BitLocker.
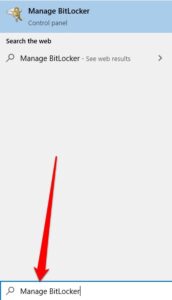
1. Type Manage BitLocker into the Windows search box and then select it from the results.

2. Next, choose to Turn off BitLocker.

How to Disable BitLocker on Windows 10 Via the Settings Menu
You may customize your PC’s settings for specific apps using the Windows Settings menu. For example, BitLocker can be disabled in the Settings menu in the following manner.
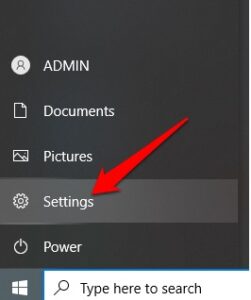
1. Choose Start > Settings.

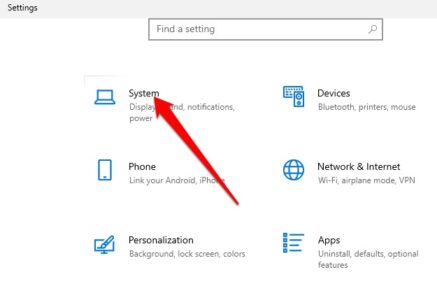
2. In the Settings window, choose System.

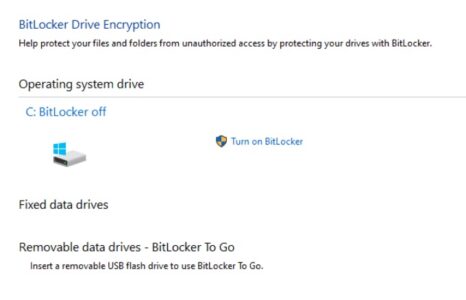
3. Now, choose About on the bottom left side, find the Related Settings section on the right pane, and choose BitLocker Settings.


Note: If you still do not see the tab, it means that your PC does not have BitLocker.
4. Afterward, select Turn off BitLocker.

5. If prompted, choose to Turn off BitLocker again. Windows will ask you for your password before disabling BitLocker encryption after it has finished encrypting your hard disk.

How to Remove BitLocker Windows 10 Via Control Panel
Windows 10’s Control Panel allows you to customize practically every aspect of the operating system’s appearance and functionality. For example, using the Control Panel, you can disable BitLocker.
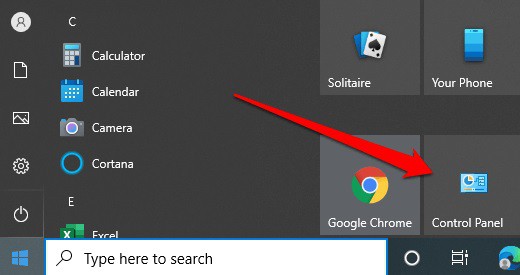
1. Using the Start menu or a search engine, find and click on “Control Panel” to access the program.

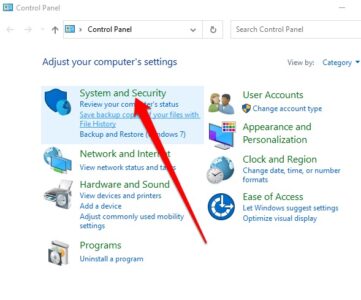
2. Choose System and Security.

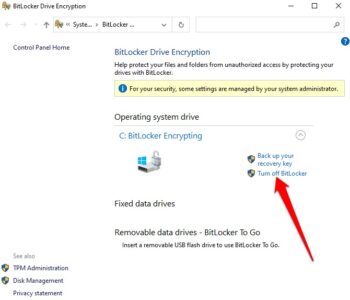
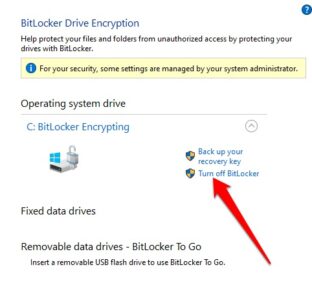
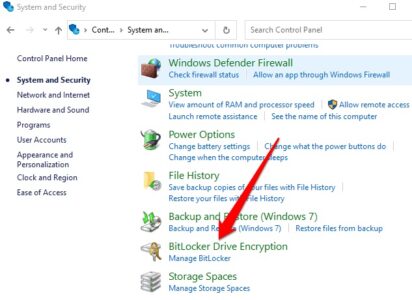
3. After that, select BitLocker Drive Encryption > Manage BitLocker.

4. Choose the Turn off BitLocker link.
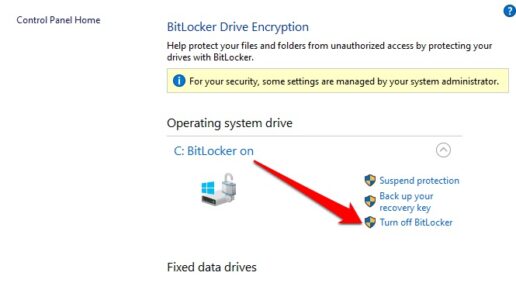

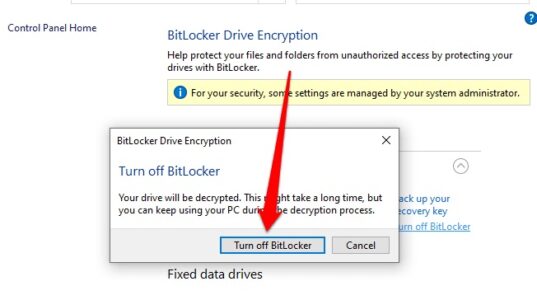
5. Your disk will be decrypted according to a notification that appears in a pop-up window. Although the decryption procedure may take some time, your PC will not be shut down. To confirm the action, select Turn off BitLocker.


BitLocker will begin the decryption process if one hard drive has been encrypted. Therefore, BitLocker must be disabled for a specific drive if many drives are present.
How to Disable BitLocker Using PowerShell and Command Prompt
Finally, you can disable BitLocker through PowerShell or Command Prompt if the GUI interface isn’t working or you only have access to the command-line tools. Make sure you run both tools as an administrator.
Replace X with the encrypted drive letter in the following PowerShell command.
Disable-Bitlocker –MountPoint “X:”
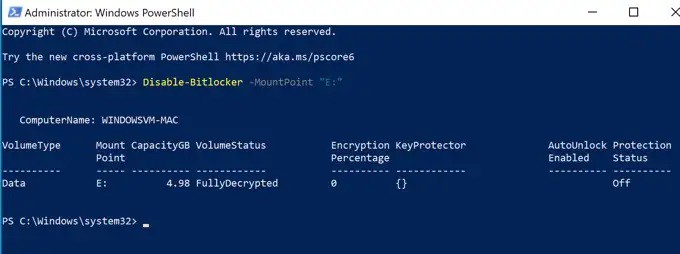

Fully decrypted volume status and protection status off is required.
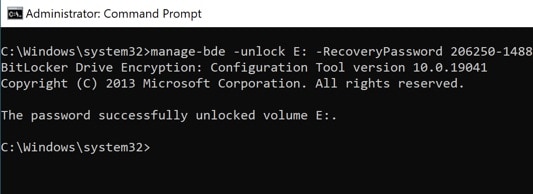
If you use the command prompt, BitLocker’s recovery key will be needed. A dash in the eight-digit sequence separates each six-digit number. Once you’ve got that, type the following command, replacing X with the drive letter of your computer:
manage-bde -unlock X: -RecoveryPassword Recovery-Key

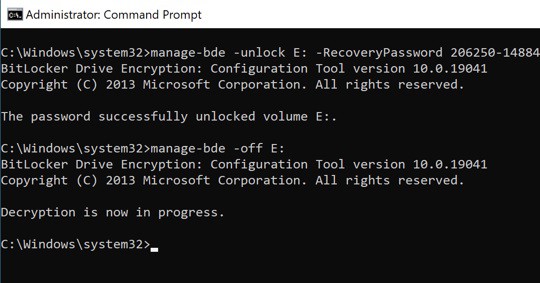
The drive is unlocked, but BitLocker is not entirely disabled. Using this command will turn it off completely:
manage-bde -off X:

Safely Disable BitLocker on Windows 10
Disabling BitLocker means that all of your files will be unencrypted, which means that your data will no longer be safe. However, if you want to keep your text files safe, you can still encrypt them or encrypt all your data online and offline.
ALSO SEE: Change Your Home Address on Google Maps
Moreover, whatever you do, you must ensure that your files are safeguarded at all times. Hackers can use your data against you if it falls into the wrong hands.